
How to Fix a Rotten Door Threshold / Sill
Our backdoor threshold rotted – there’s a small section of the rubber that let water in. I had the joy of fixing it yesterday. First let me say, it’s a bit of a beatdown. However, it went well overall and seems to be ok.
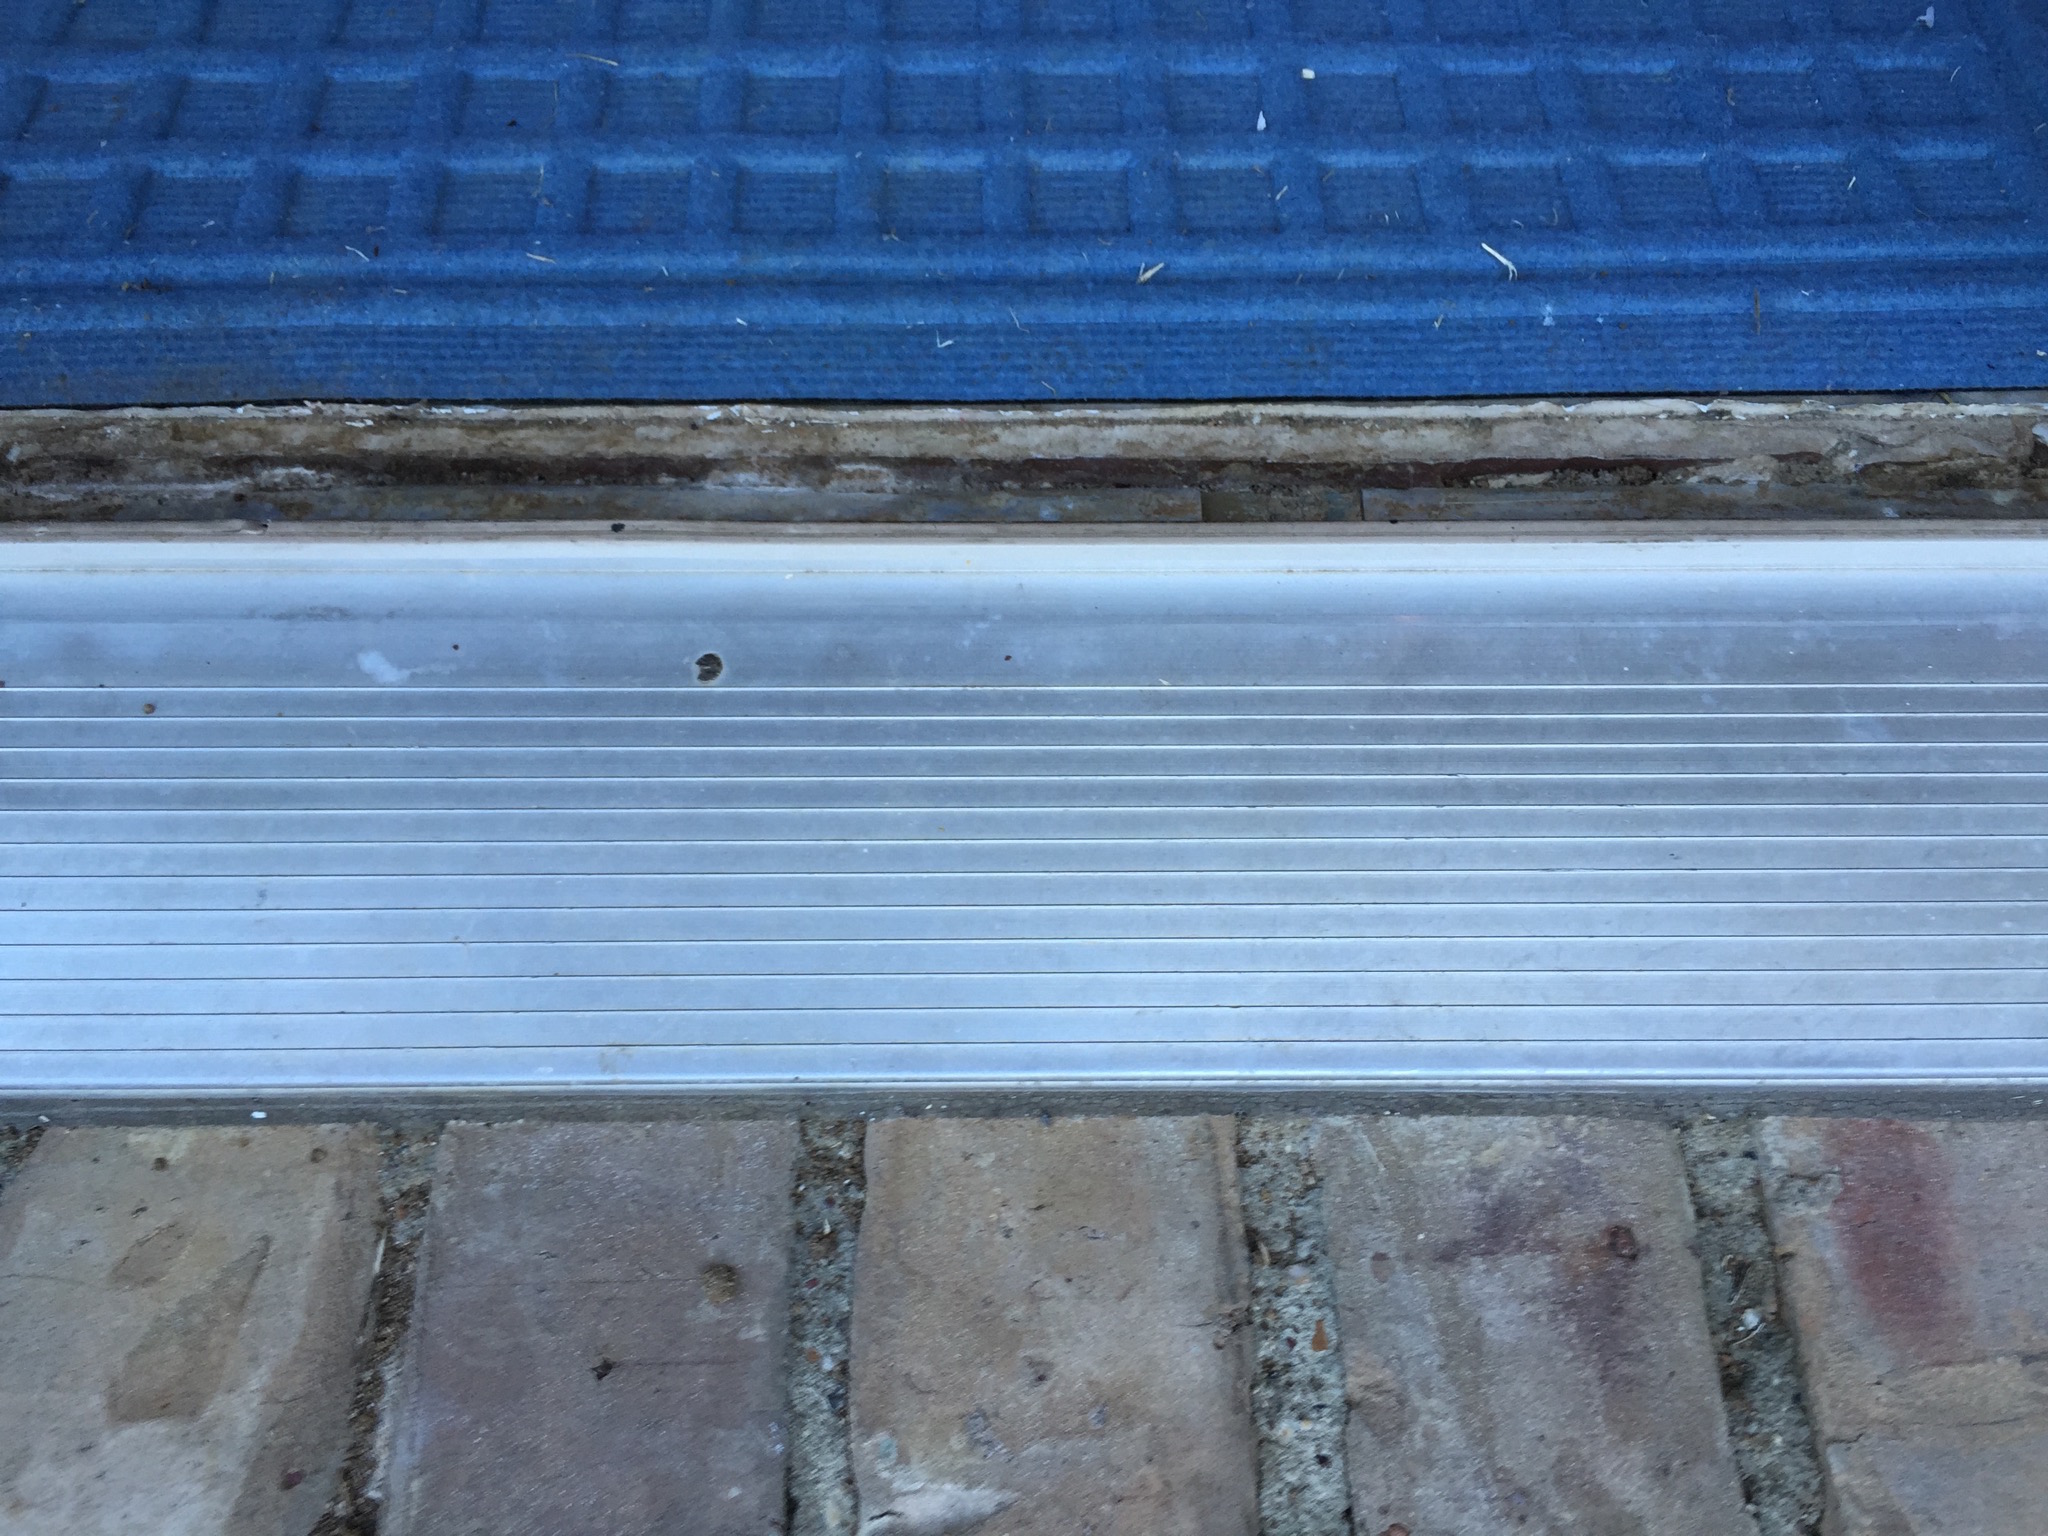
New Threshold
I wanted to post about the 157 steps to do it but that sounds like just as much of a beatdown. Also, there’s no way I’d read through it all given the many videos out on the interweb that show you how to do it better than I could.
Given that, I’ll just post a bit of info on how I did it and some pics. I’ll say this, the key thing that worked for me was taking it slow, getting the right parts (finding the same thing that was used before) and being a little bit more patient than I usually am…
You can see the wood was rotted…
The wood is at the top. If you’re fortunate, you can remove the screws from the top piece of wood, but that’s just the beginning. Under that, it should be fastened to the foundation. Mine wasn’t.
I was just basically tore it out. I took my time b/c I had no idea what I was doing, but ultimately it needed to just be removed.

You can see on either side that it was wedged under the door jam. This is great b/c if I can find one the same size (36 inches), I’m golden. Here’s the threshold I needed.
I had to clean out the caulk and such. The sides had staple-nails from the door frame and wood.

I used a chisel to break them off. Not a huge pain but fortunately I bought chisels for another project I had coming up (fixing rotten wood on a door). Guess which door.
I slid the new threshold in place (after cleaning the area out really well – also I put some silicone caulk underneath where there were cracks and such so any water that might get in wouldn’t get under. Or water won’t come up.).
For the threshold installation, you could just put it in place and caulk it. The wedging and caulking would probably hold it fine. However, you “suppose” to fasten it to the foundation – which wasn’t done by our builder.
I got some TapCon concrete screws and a drill bit for those.

There’s also the chisels I got, the caulk and part of the new threshold/sill.
I drilled 3 holes (between the existing holes in the threshold) and then fastened it to the foundation: drill small holes through the threshold then screw it in. Then I attached the top piece of wood to the threshold.
I nailed a short piece of quarter-round to the front, caulked it and was done.

You can see it’s now night – it took a while. Looks fine this morning.
Leave a Reply