How to Make a Mediocre Creeper Costume for Halloween
 If you’re looking for decent creeper costume instructions, I’m not sure you’ll find them here. But here’s an option for those of you who maybe aren’t the most crafty, don’t have a ton of time or maybe just aren’t that jazzed about your kid looking too impressive.
Difficulty:
On a scale from 1 to 10 on the difficulty, this is about a ‘meh.’ So if you’d rate your craft skills in the ‘box wine’ category, you should be fine.
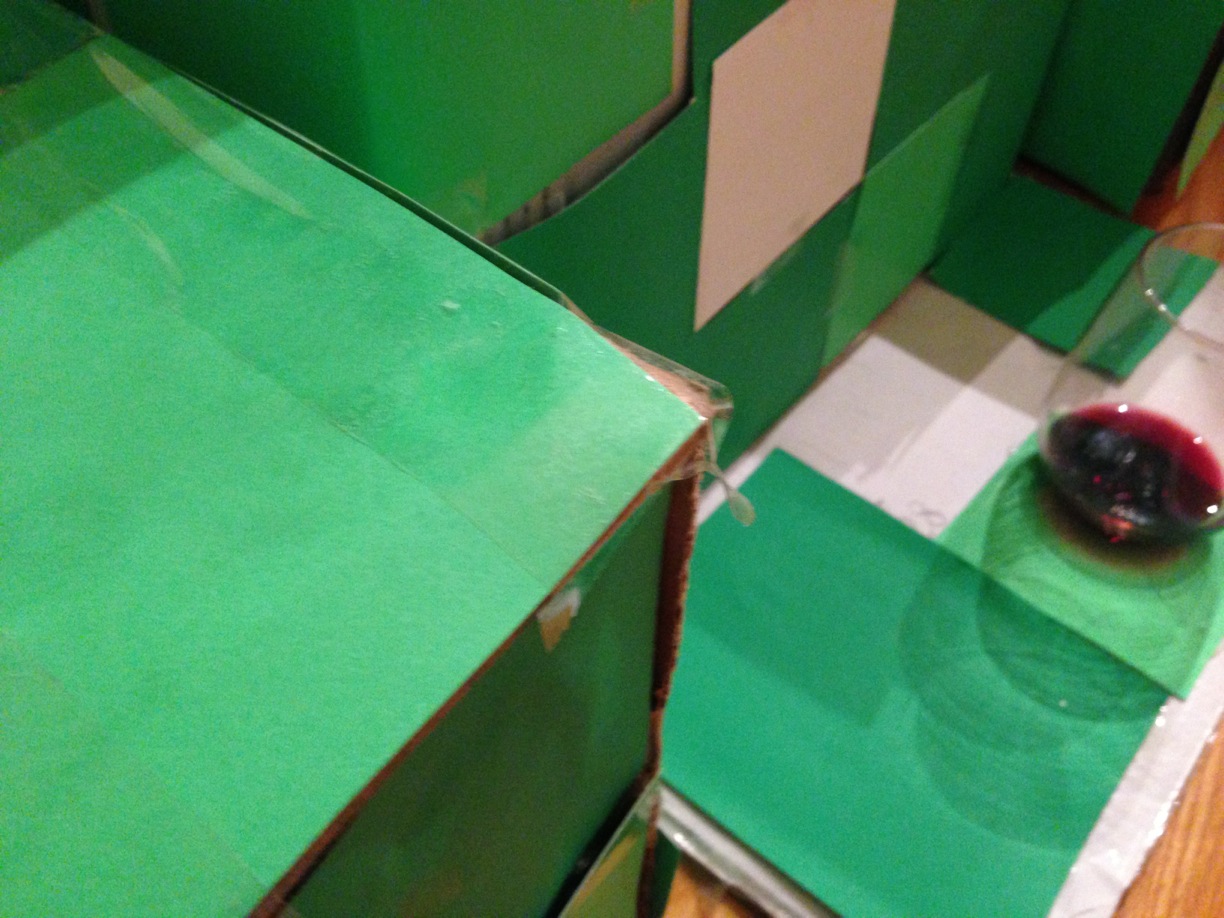
Time:
About 2-3 glasses.
What You’ll Need:
- One Large Box – Good luck. We had a 2″ Foam Mattress Topper box so if you’re in the market for one of those, you’re in luck.
- Two smaller boxes – Approximately equal size (shoe boxes?), if you’re a frequent Amazon customer or hoarder, you’re probably ok.
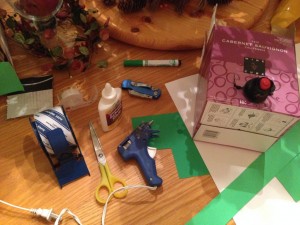
- Tape – various, clear
- Scissors (and possibly box knife)
- Glues – white and hot
- Four Poster board sheets – shades of green
- One Poster board sheet – white (possibly a black also, if you like)
- Libations
- Reluctant assistant

 Step 1:
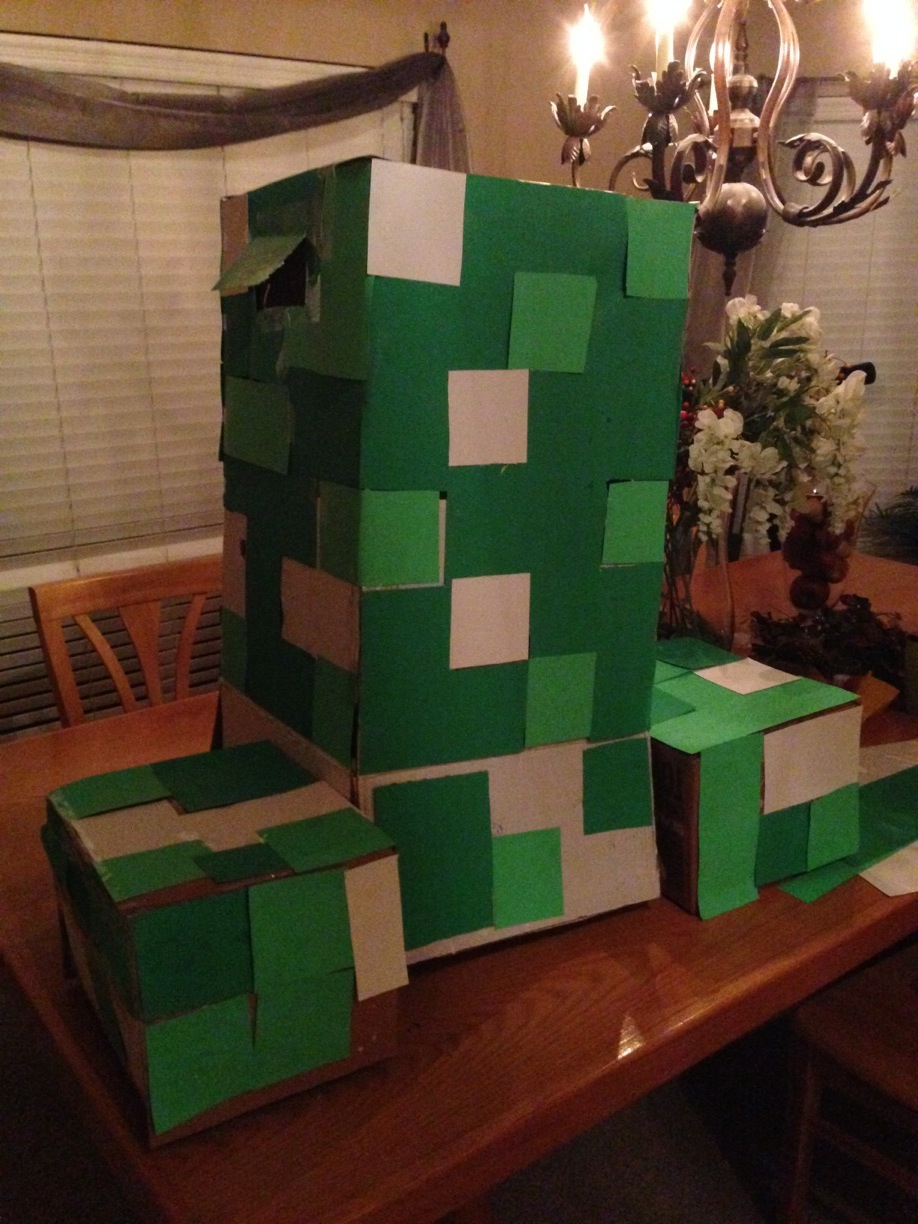
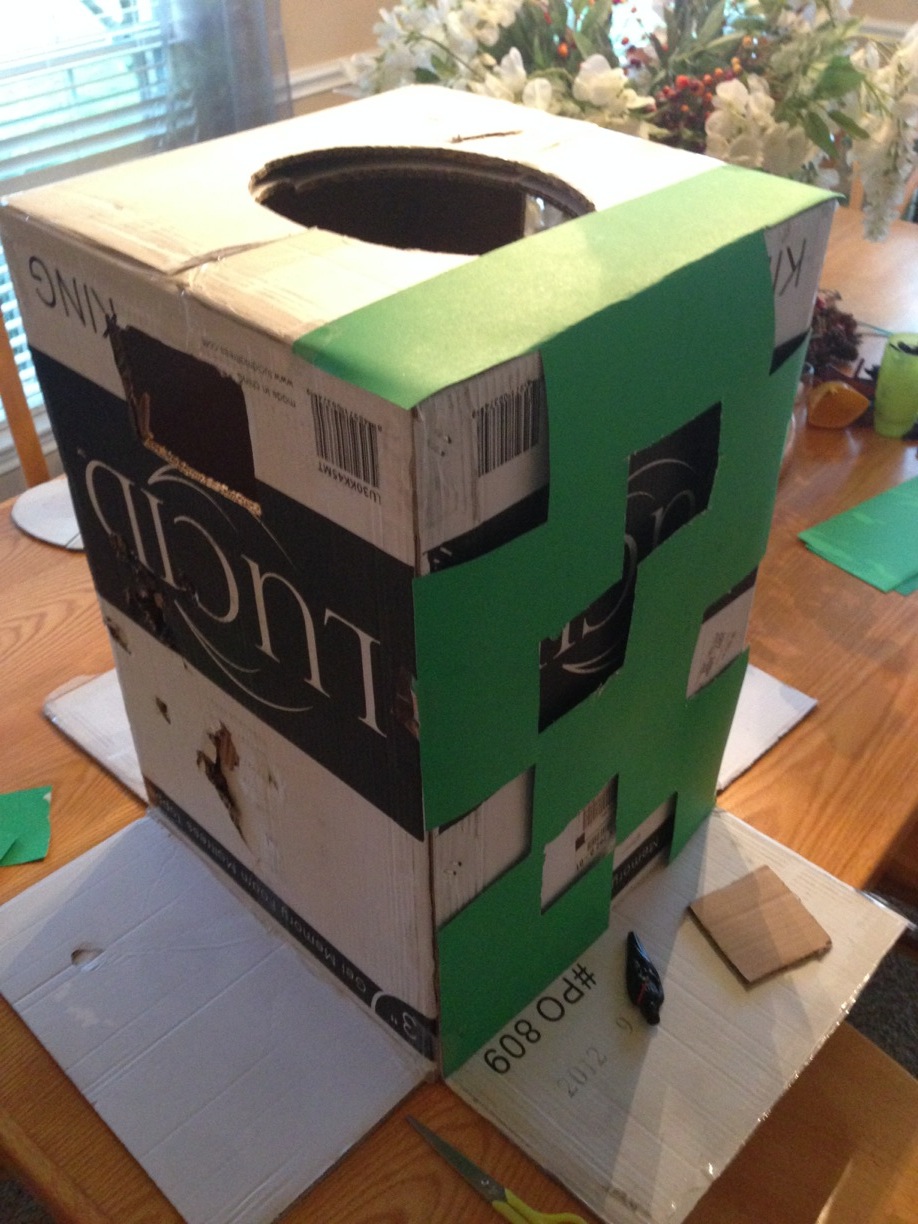
Cut (box knife) a hole in the closed end of the box. Make it just slightly larger than the inhabitant’s head. Same for 2 arm holes. Don’t flip out about the shape/size of the arm holes b/c they will be covered, but make them near the top b/c that’s where a humans arms are.
Ignore the green poster board in the picture. WE’RE NOT THERE YET, PISTOL!
(Non-intimidating white space)
Step 2: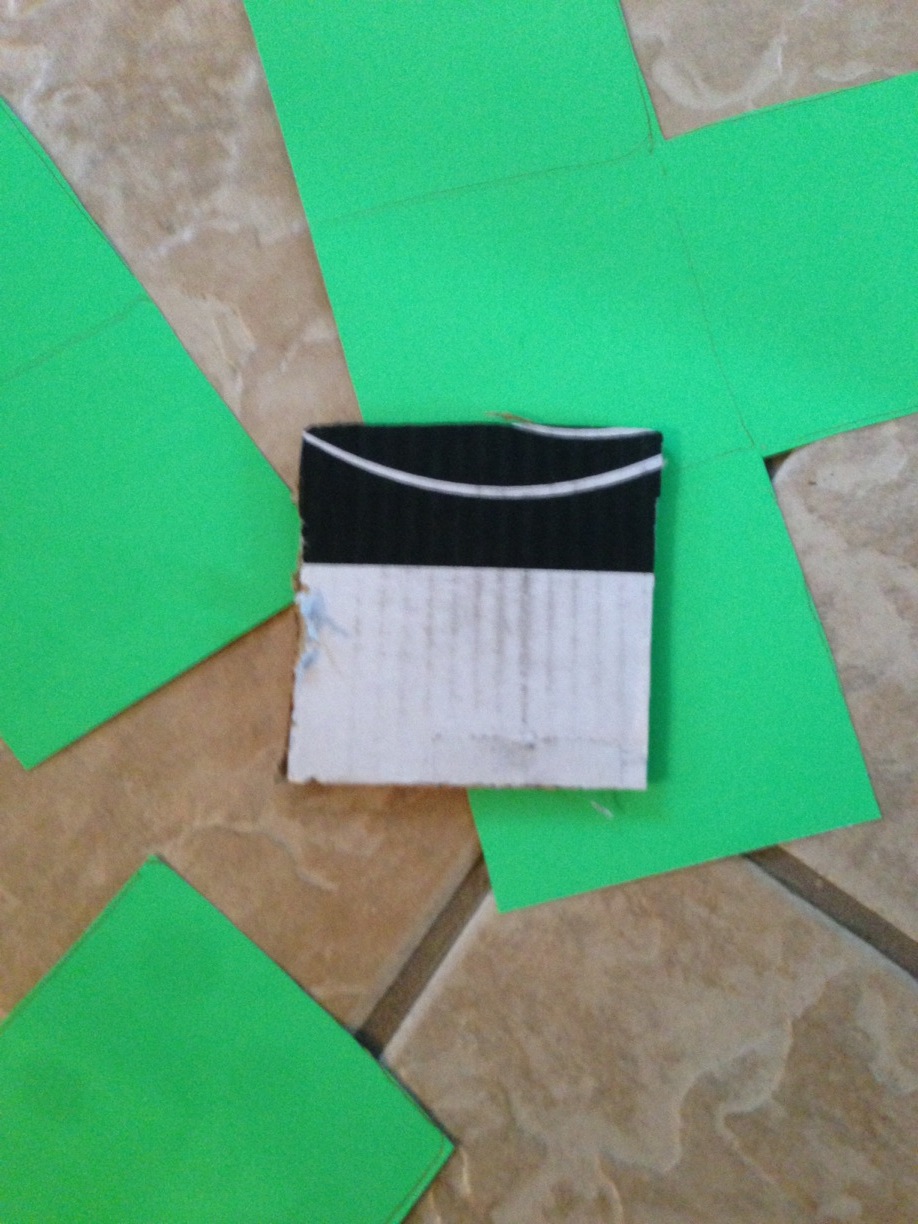
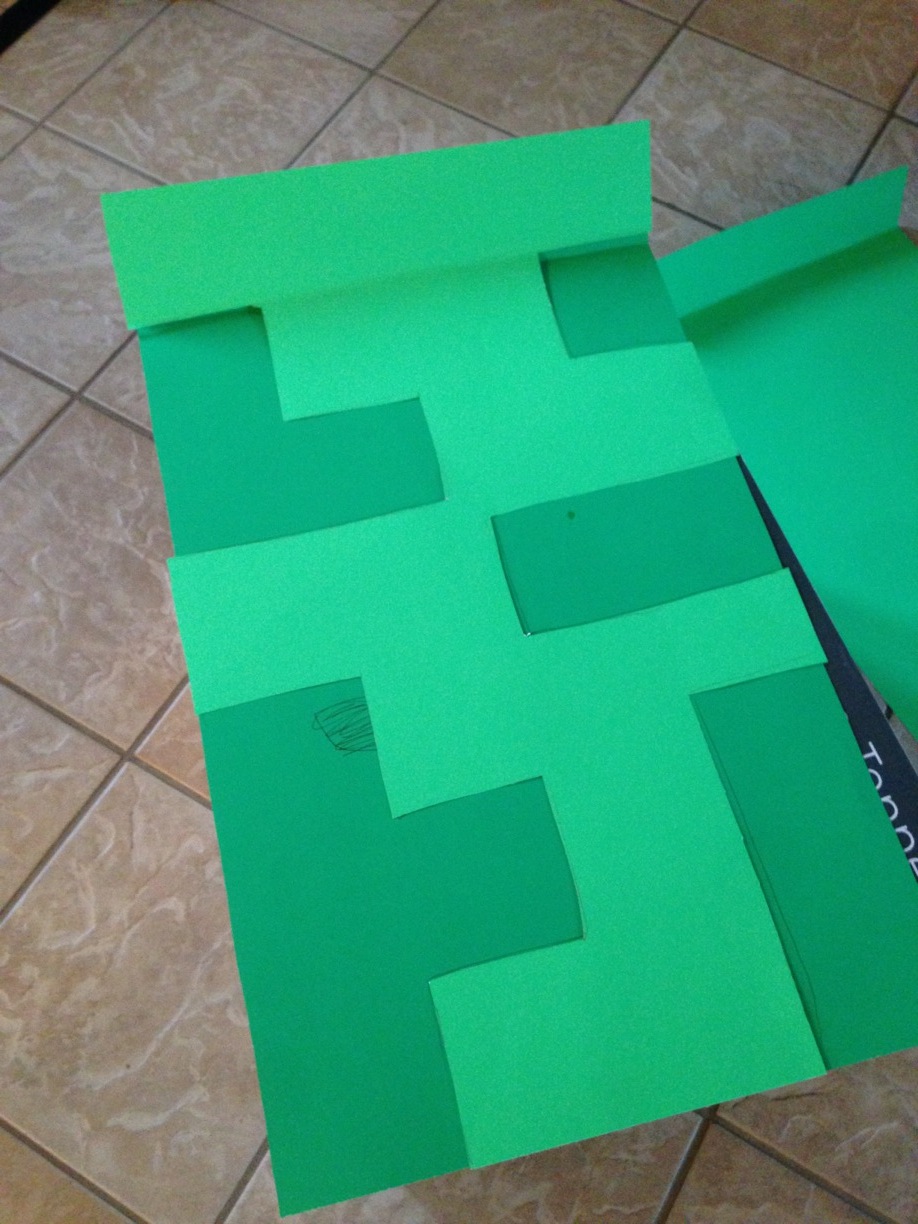
Make a ‘template’ of the size of the squares you want for your creeper. Using the powers of ‘math’ I decided to make my square fairly big b/c I’ll have to cut fewer of them. Ambition!
Step 3:
Take a piece of poster board and see how it will fit on your box. Cut off the sides/top as necessary to make it fit on the side. Some overlap on the top is good b/c… look at the picture above.
 Step 4:
Using your template (see step 2), draw a bunch of squares on one poster board (vary the colors/shades – I used green and other green – you may not be that creative). Cut those patterns out with scissors (NOTE: They can be various combination of the squares – think Tetris pieces).
Put the pieces you cut out to the side… in a pile.
Step 5:
Use this new funky poster board thing on top of another and draw it… another template! And then cut it out. Repeat this until you have a total of four poster boards cut out.
Now you sd have four sides of poster boards cut up and a bunch of squares.
Step 6:
Tape and or glue each of the four sheets of cut up poster board to a side of the box. I mostly taped using clear packing/box tape. Fold or cut pieces as necessary.
 Step 7:
Tape and or glue squares to the box where the poster board is cut out using the alternate colored squares – also, cut out white squares using your template and use those some too.
Some pieces may wrap around the side of the box to a hole on another side… avoid extra work/cutting whenever possible, Mr. Efficient. The flaps of my box were white so I just taped some spare squares on said flaps and left some white spaces blank.
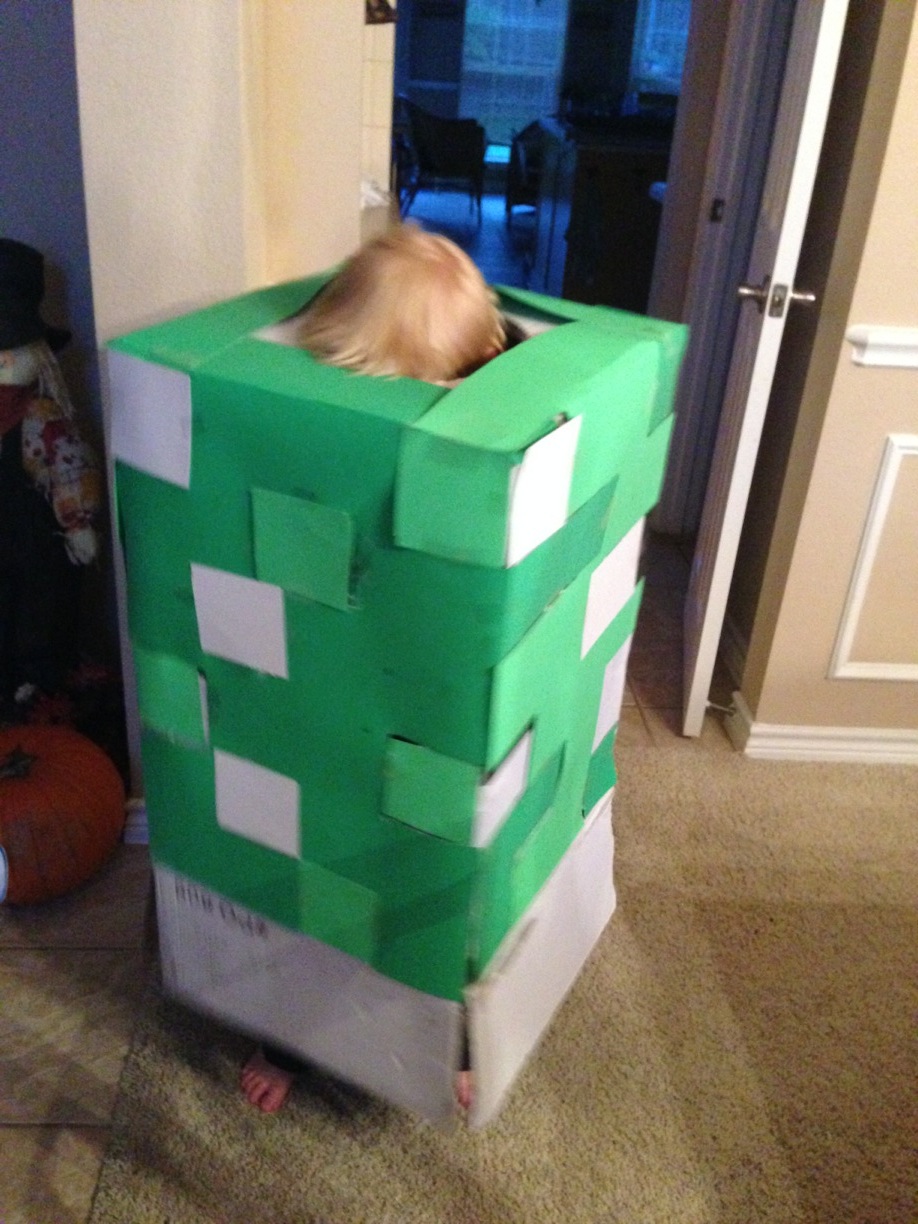
Have your reluctant and grateful assistant try it on and model it with a huge appreciative smile on their face. Yay!
NOTE: The child head should extend through the top and the box rest on their shoulders. This costume does not include a creeper head… that seems like asking for a true nightmare on Halloween… that thing wouldn’t stay on, etc. Also, you might need some towels or something to pad the child’s precious shoulders.
Step 8:
Over the arm holes, cover the area in the moving tape to make a solid sheet. If you planned ahead, you could have just made sure there wasn’t patchwork of squares over this area… waa waaaaa.
Cut through the paper (now a solid piece thanks to post-tapping) where the arm hole is but ONLY the bottom and two sides. This makes a flap hinged at the top for them to stick their arms through. Feel free to have your assistant patiently try the costume on again. You may want to enjoy some adult refreshments before doing that last part.
 Step 9:
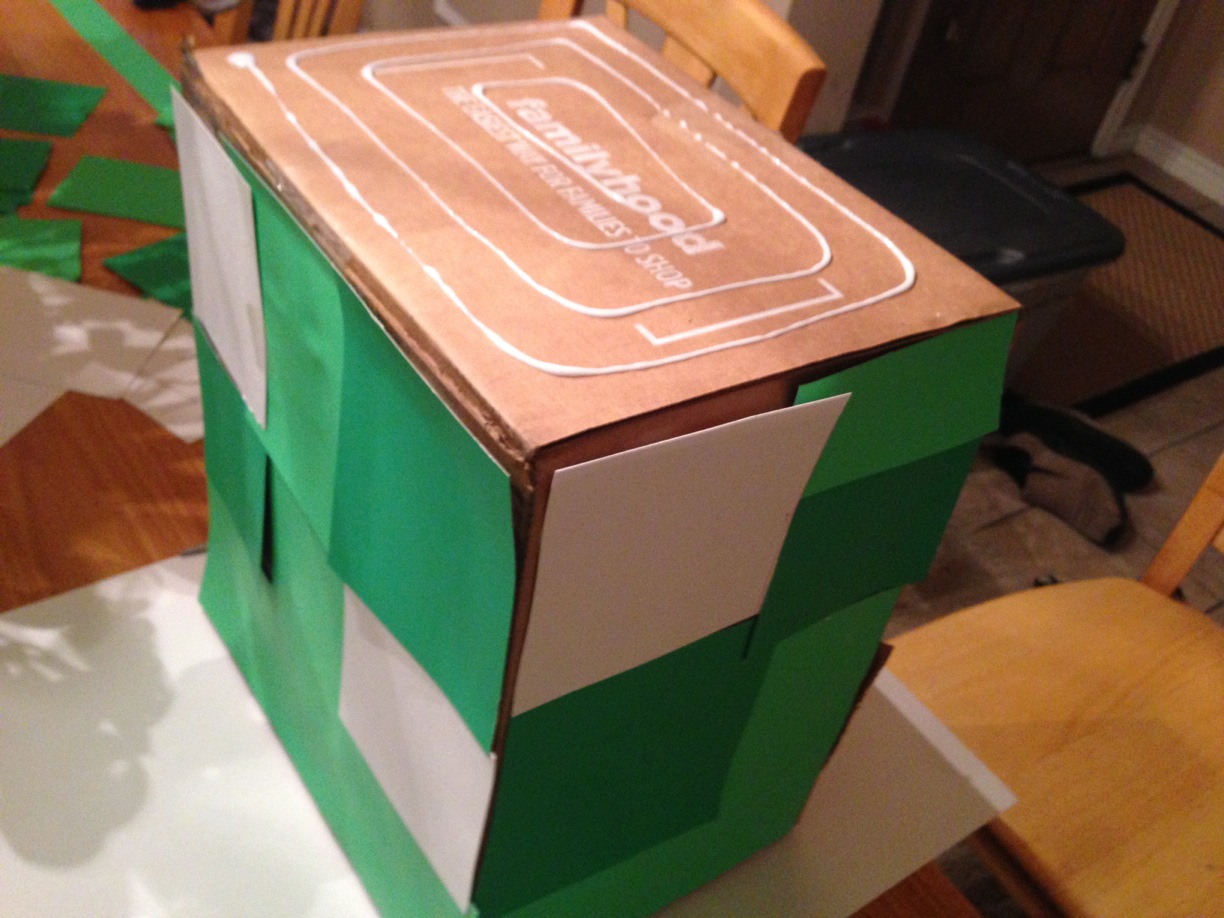
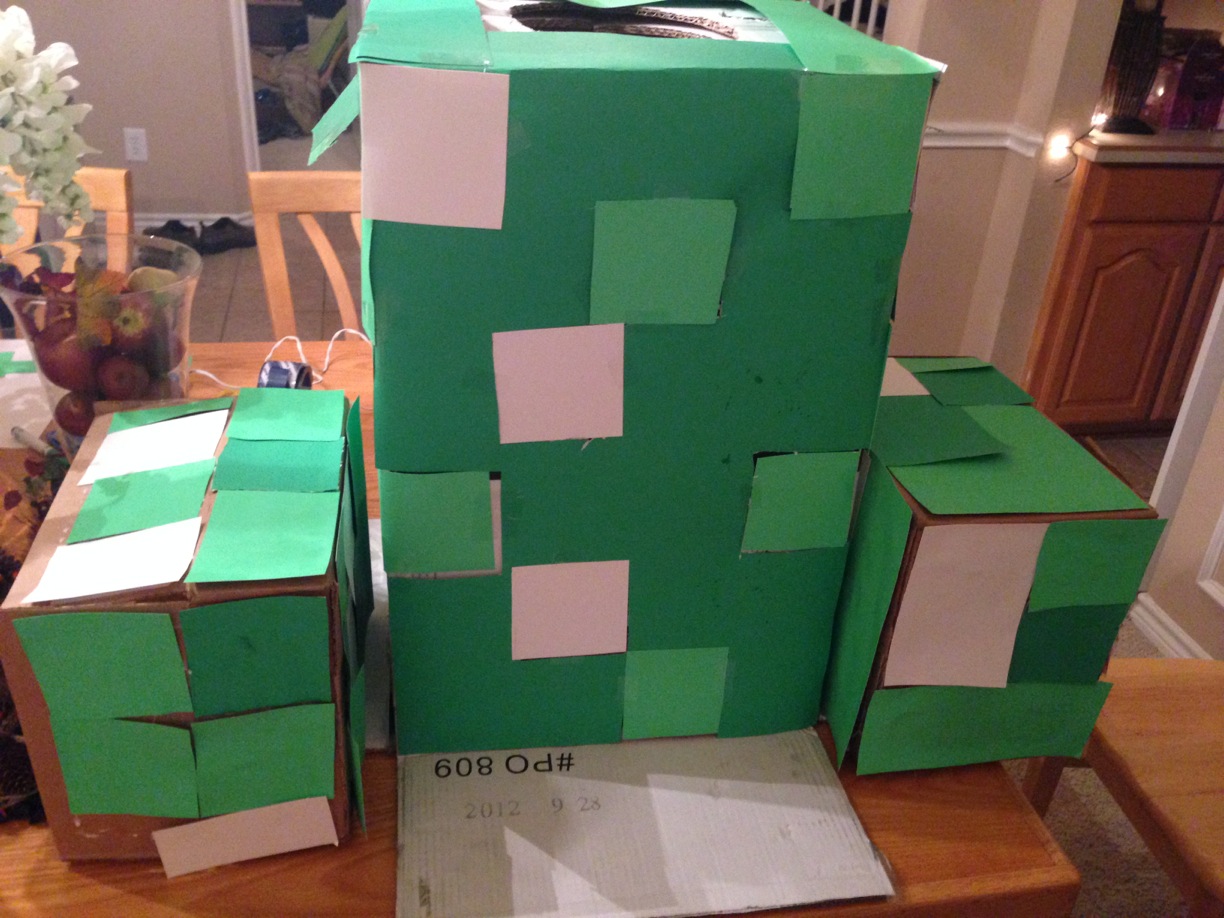
Ideally you should have a bunch of green squares left over. Them for the boxes.
You’re going to cover the top, two short sides and one long side with squares. The bottom won’t be seen (well, chances are this costume will be on the ground at some point but everyone will be looking at the crying child or giving the adult the stink-eye for laughing at their own bawling kid so they won’t see the bottom)… or it doesn’t have a bottom if you needed to use the flaps to heighten the box.
And final long side will be glued to the main box.
For each of those sides (top, 2 short sides, 1 long side), apply ample glue and start adding squares.
 Step 10:
If the squares start to warp and such, you may need to secure them w/ some tape and/or weight them down while the glue dries.
If they still don’t look straight, have some more wine until they straighten out… or until you don’t mind so much.
 Step 11:
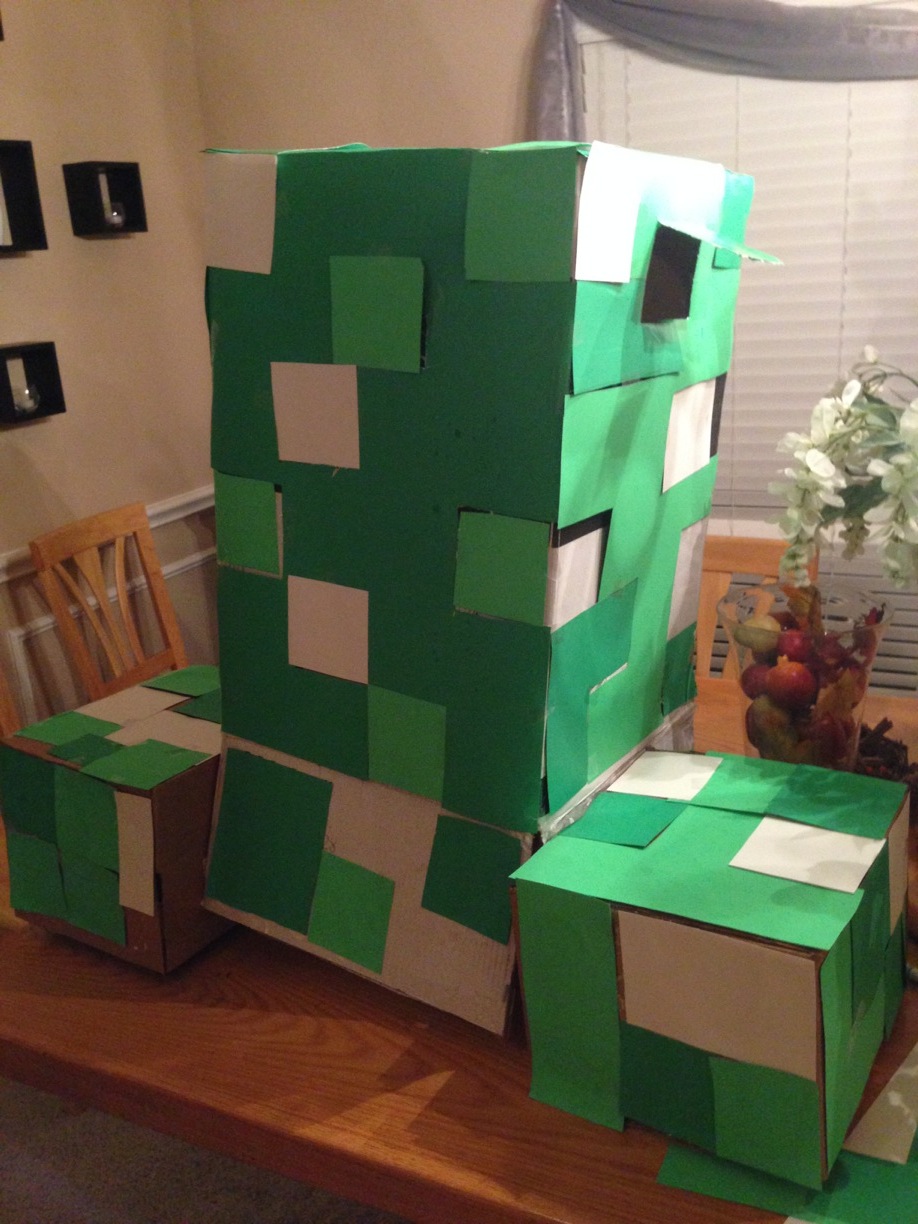
Finally, hot glue (if possible) the little boxes to the flaps of the big box. If your main box doesn’t have flaps, you’re on your own.
If you don’t have a hot glue gun, I’m not sure you made it to this point or should have even tried this. You may not be as crafty as you think. Yes, I’m questioning your skillz.
The side boxes should extend just past the front of the main box – as a model, you might want to google some creeper images.
Step 12:
Once your hot glue is secure, you can stand your creeper up. I wdn’t recommend having your assistant try it on at this point. Not much good can come of that. Just know you rock as a parent, are super crafty, everyone will be super impressed and if you blog about it, you’re certain to get rich somehow… that’s just how it works.
Leave a Reply